
1. The varieties, specifications, colours and properties of the slabs used in the stone surface layer shall meet the design requirements.
2. The surface layer and the next layer should be firmly combined without empty drum.
3. The number, specification, location, connection method and anticorrosion treatment of embedded parts and connectors in decorative panel installation project must meet the design requirements.
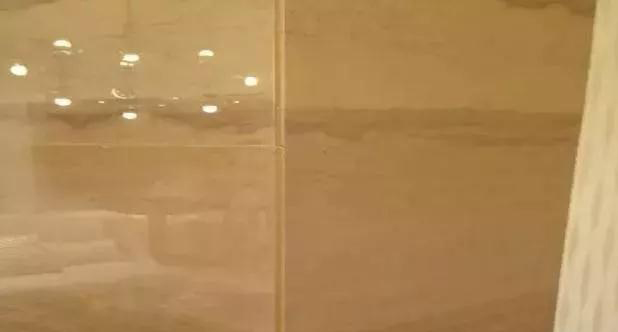
4. The surface of stone surface layer should be clean, flat, without abrasion marks, and should have clear pattern, uniform color, uniform joints, straight peripheral, correct inlay, no cracks, corner drop, corrugation and other defects.
5. Main control data: surface smoothness: 2mm; seam flatness: 2mm; seam height: 0.5mm; kick line mouth flatness: 2mm; plate gap width: 1mm.
Stone Yangjiao Joint
1. The masonry positive angle is 45 angle-splicing, which can be used for joint filling, fillet polishing and polishing.
2. The stone kick-line is polished by gluing the finished product Yang-jiao kick-line.
3. Bathtub countertop stones are strictly forbidden to be laid at 45 angle, and flat pressure. The countertop stones can float out of the skirt stones of the bathtub twice the thickness of the stones, with a chamfer of 3 mm, and can be polished on the visual surface.
Indoor ground elevation
1. Indoor ground needs to draw elevation index maps, including structure elevation, thickness of bonding layer and material layer, completed surface elevation, slope direction and so on.
2. The floor of the hall is 10 mm higher than that of the kitchen.
3. The floor of the hall is 20 mm higher than that of the toilet.
4. The floor of the hall should be 5-8 mm higher than that of the entrance hall.
5. Unified elevation of corridor, living room and bedroom floor.
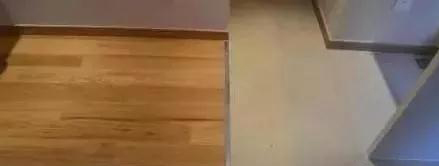
Stone Floor and Wood Floor Floor
1. When the wooden floor is flat with the stone floor, the chamfer of the stone flat seam should be 2 mm, and the wooden floor should be 2 mm lower than the stone floor.
2. When the expansion joints are left between the wood floor and the stone floor,the receptacles should be set at the joints.
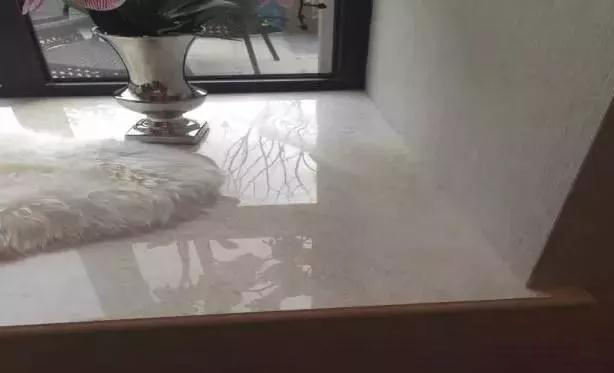
Windowsill closure
1. The windowsill outburst wall is 1 times thicker than stone, and the width of both sides is 1-2 times thicker than that of the window. A “V” groove can be set between the windowsill and the underlying sticking lines to weaken the bonding seam of the stone.
2. There must be no gap between the window sill and the underlying line and the wall, so that the wall putty can be collected in the shade corner.
3. The exposed edges of windowsill should be chamfered by 3mm, and the visual surface should be polished.
4. The kitchen and bathroom windowsills are paved with wall tiles. It is not suitable to set windowsills separately.
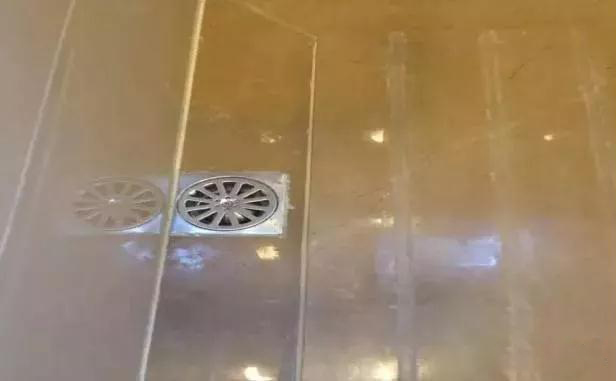
Ground drainage practices
1. Bathroom and balcony ditches should be the same width as ground leakage base, and no mortar layer should be exposed on the side of ditch slope finding.
2. When the floor drain is patched up by four-sided inverted octagonal pattern, the floor drain needs to be in the middle, and the direction of return water is obvious.
Wall openings
1. The wall tiles around the reserved pipe should be drilled through circular holes with special tools. The wall tiles should not be cut and pasted together.
2. It is strictly forbidden to install across joints. It is required to install smoothly without showing joints and to sew evenly with the wall.
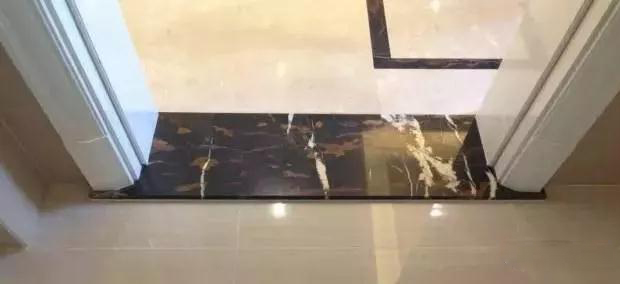
The Relation between Wooden Door Frame, Door Face and Threshold Stone
1. Kitchen and bathroom doorframes are all placed on the threshold stones, and the outside doors are facing to prevent them from being above the ground decoration finish.
2. Fine glue should be applied at the junction of entry door, kitchen door frame and threshold stone.
Kick line and ground crevice
1. Use the kick-line with rubber dust-proof strip to solve the defect of the gap between the kick-line and the wooden floor and prevent the accumulation of dust in daily use.
2. It is suggested to use sticky kicking line. When fixing with nails, grooves should be reserved for the kicking line and nails should be made in the grooves.
3. Use PVC surface kick line and PU film to protect the surface.
Staircase step
1. The staircase steps are square and consistent, the lines are straight, the corners are complete, the height is uniform, the surface is firm, smooth and wear-resistant, and the color is the same.
2. Cement mortar surface staircase steps, straight lines, complete corners, uniform height.
3. Stone surface step, edge and corner polishing, no color difference, high consistency, even width.
4. The floor tile surface is aligned with the step-by-step brick seams and paved firmly.
5. Baffle or water line should be set on the side of step to prevent stair side pollution.
6. The surface of the staircase kick line is smooth, the thickness of the prominent wall is consistent, the line is neat, and there is no color difference.
7. Kicking line can be laid in whole piece with smooth joints.
8. Kicking line can be in step with step arrangement.
Post time: Aug-20-2019