

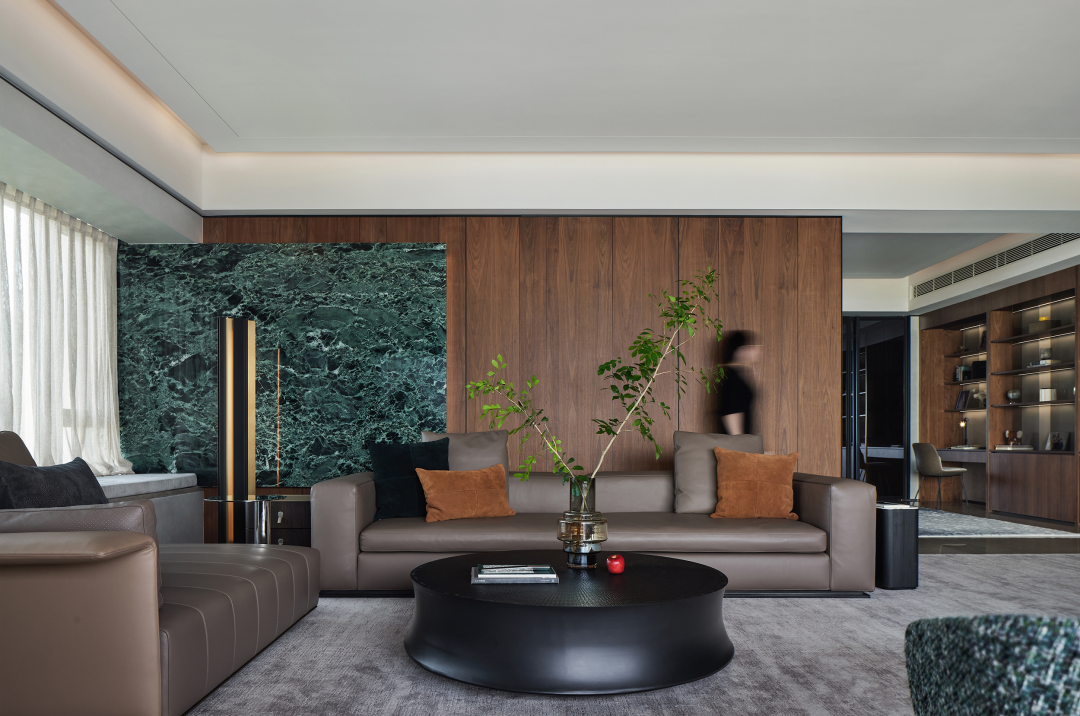
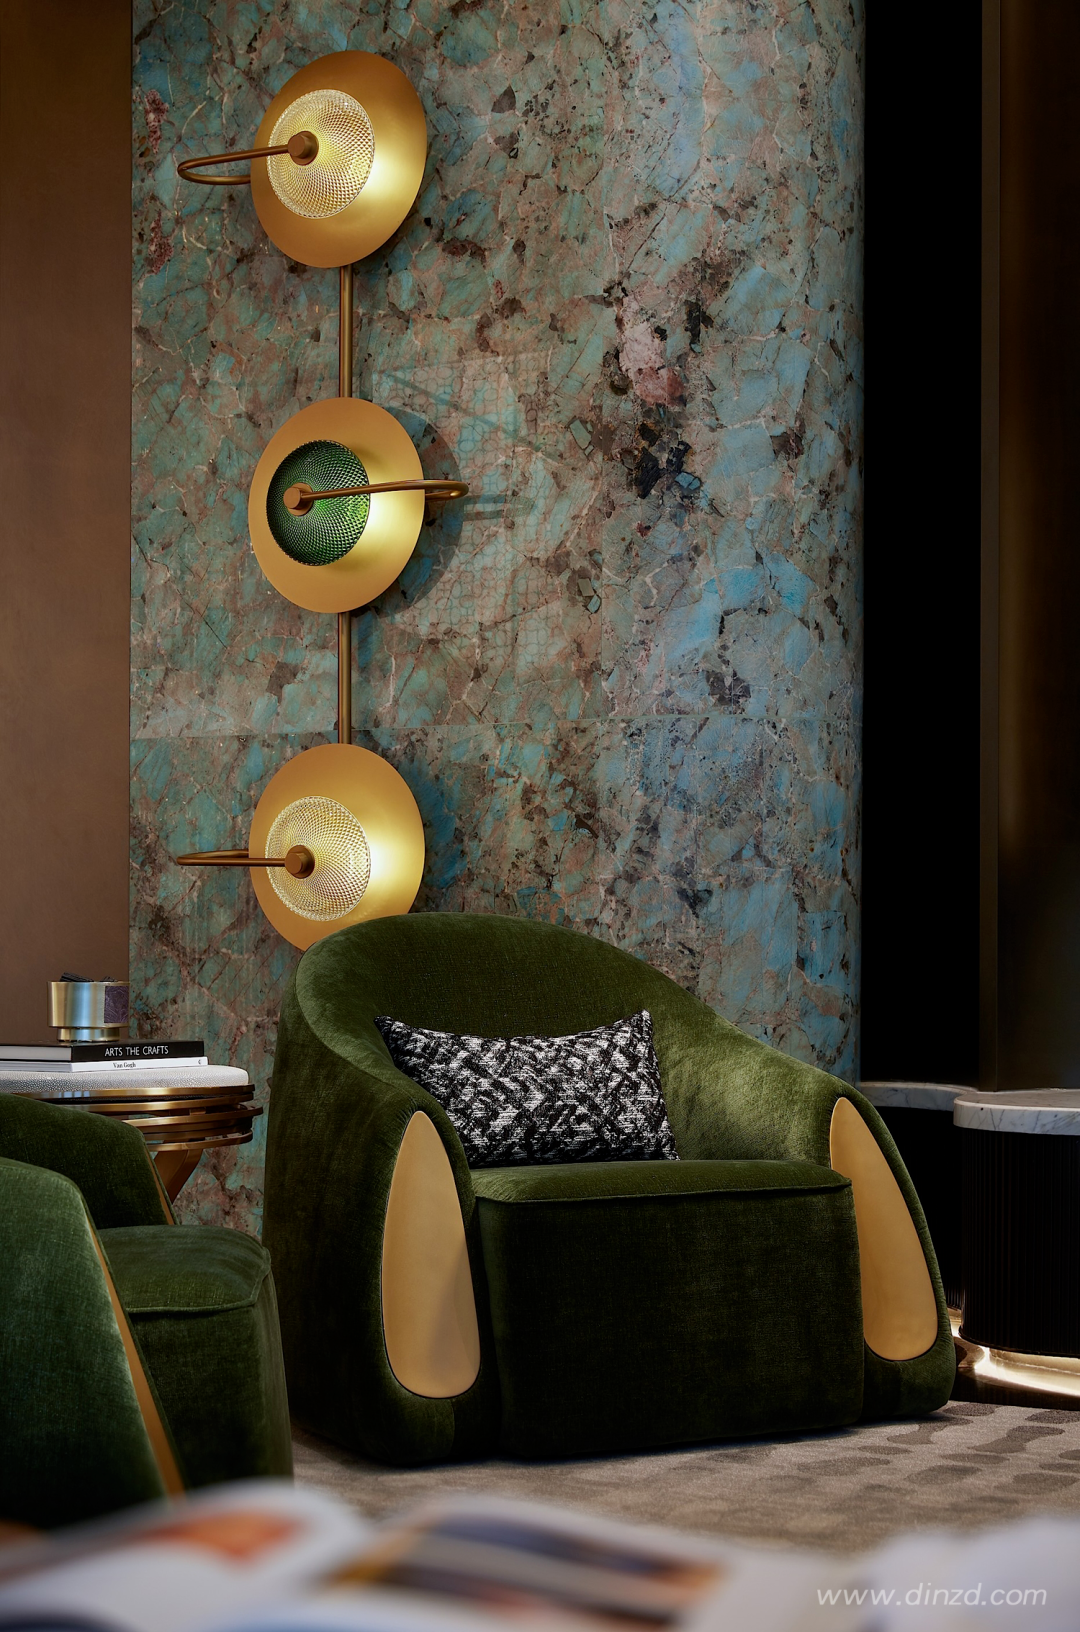
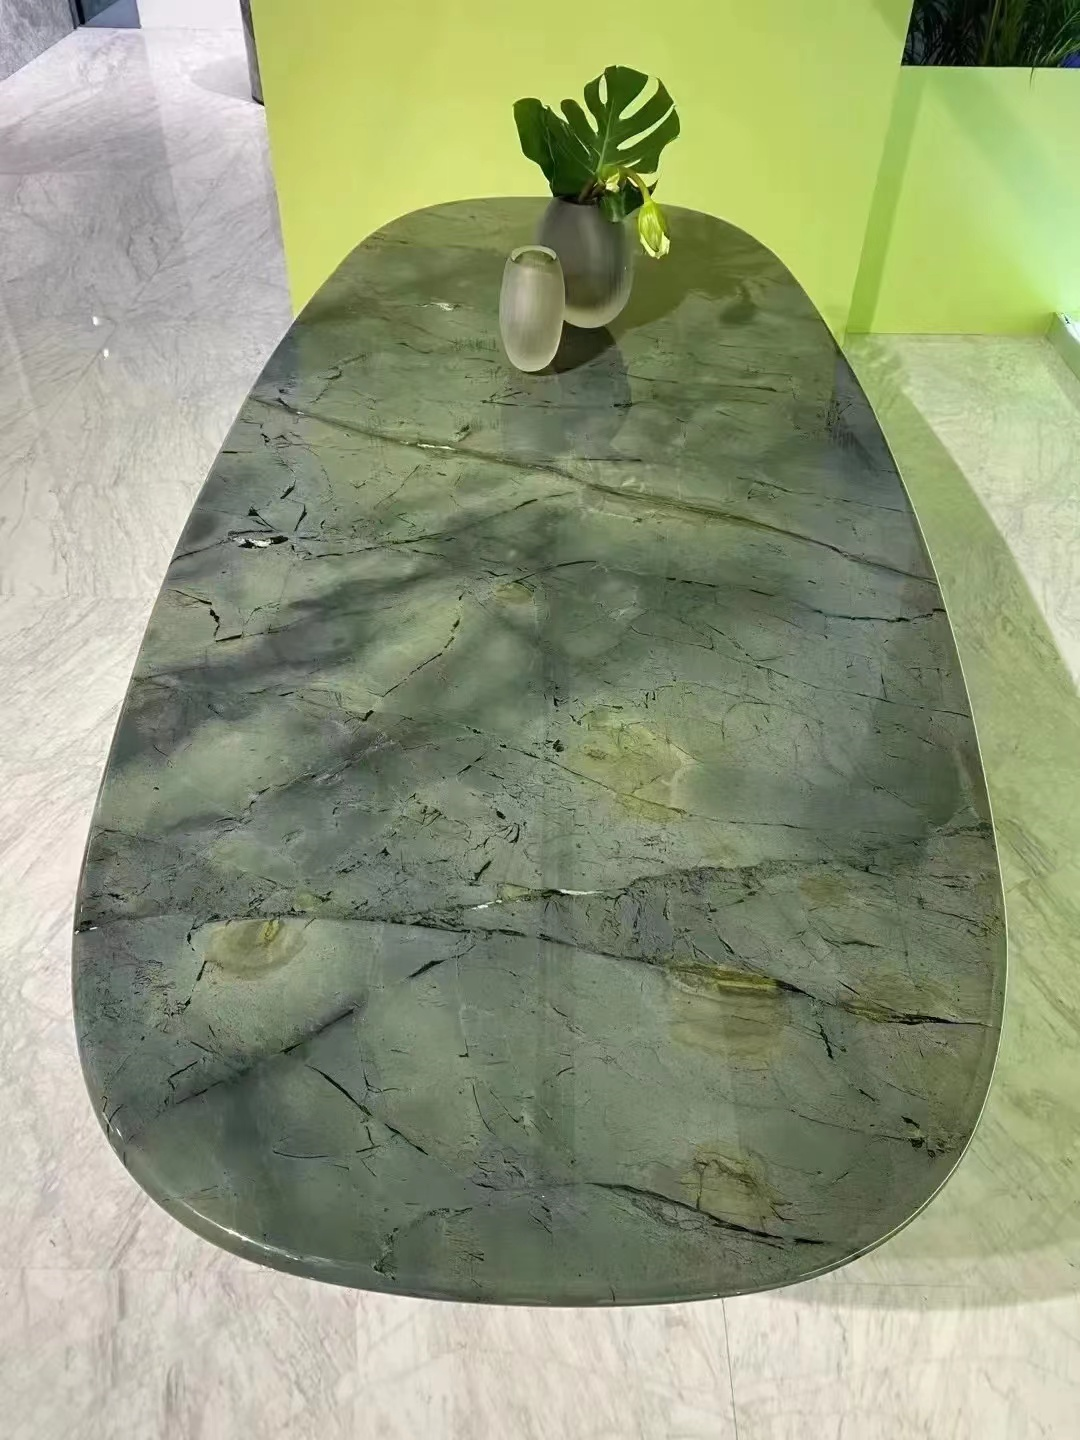
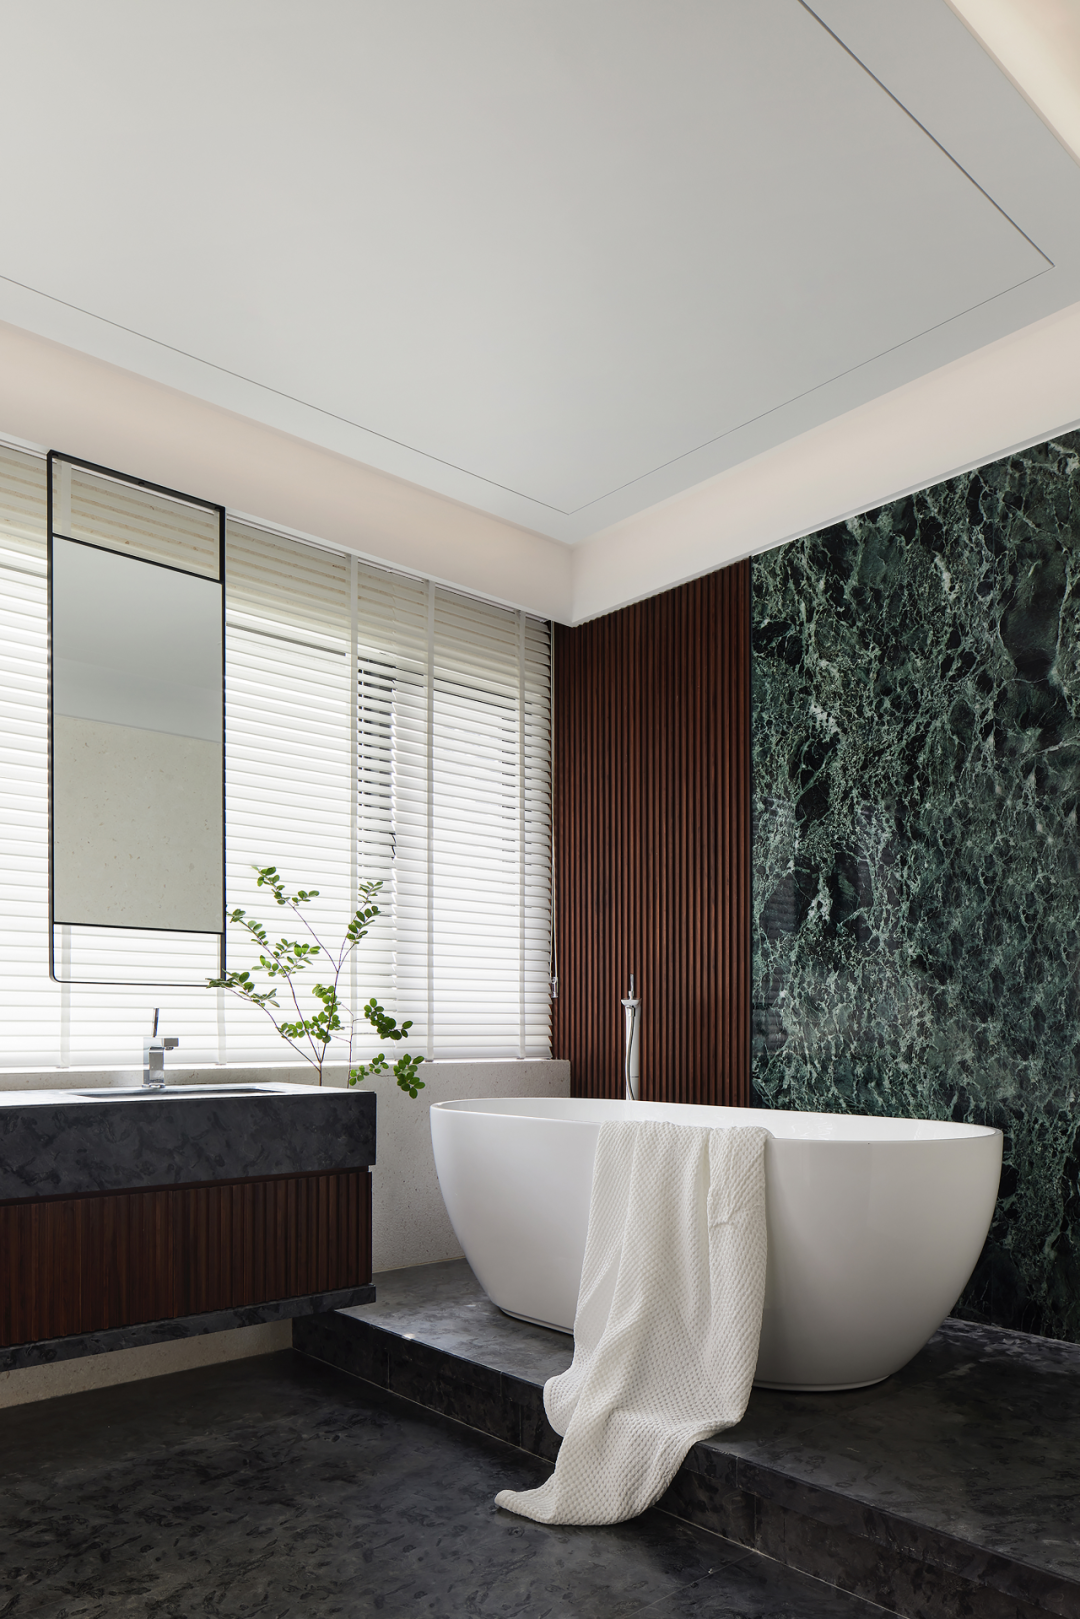
The background wall is the focus of home decoration, and natural marble has always been popular as a high-quality background wall material. The plasticity and decoration of marble are excellent, and it can create various styles, European and Chinese, luxurious and simple, exuding unparalleled charm.
The decorative materials for walls are also diverse, among which the most popular background wall material is stone. Marble background walls are the easiest place to enhance taste in indoor decoration, and each natural stone background wall cannot be described and explained in words for its beauty and uniqueness.
So nowadays, more and more people are choosing stone in the pursuit of high-end, luxurious and luxurious quality of life decoration trend, which is more reflected in high-end decoration. In the past, the stone business circle has also shared relevant knowledge about Dali background walls with everyone.
Today, we are organizing the production process of marble background wall columns.

The production process of marble background walls is no different from that of ordinary sheet metal processing and irregular processing. More emphasis is placed on splicing and assembly, as well as the cutting, bonding, and closing processes of components. A beautiful background wall has strict requirements for these requirements, and is not just a simple patchwork of parts.
Taking Figure 1 as an example, explain the production process and process of the background wall in steps.

Production process flow of marble background wall columns
01 Processing of Column Head
From Figure 1, we can see that the vertical height of the column head is 110mm. However, when processing the corner line of the column head, it is important not to produce according to the width of 110mm. When splitting the drawing, it is important to note that the disassembler habitually writes it as 110mm in the material list. Taking the top corner line of the background wall in Figure 1 as an example, its width is 140mm, as shown in Figure 2.
(1) Production of gongs:
As shown in Figure 2, the customization of the gongs for the top corner line must be done by placing the top corner line horizontally (including the corners where the dashed line is cut) and customizing in the opposite direction of the design. Depending on the equipment, the dimensions of the gongs are generally 200x outer 60 (Yongda line machine), 200x inner 50 (bridge cutting machine or single cutting machine), 200x inner 45 (Yongda line machine), and 200x inner 45 (Tenglong single head edge grinding machine).
At the same time, it is necessary to customize corresponding resin polishing wheels, fiber polishing wheels, and molding sand strips. The left and right sides of the resin polishing wheel and fiber polishing wheel are used to directly polish the lines on the machine. The function of the formed sand strip is to use the hardness of its own diamond sand and the softness of the resin (fiber) to repair the resin wheel and fiber wheel into the desired shape.
(2)石材切割:
大理石的切割与人造石的切割锯片不同,因为大理石的材质比人造石脆、硬,容易产生崩边、崩角,大理石锯片只有3mm左右(人造石的锯片稍厚,约4~5mm),桥切机操作工这个时候也要注意的是设置好锯片的厚度,否则切出来的产品宽度会有偏差。
另外天然大理石与人造石不同,矿山开采出来后的形状并不是规规矩矩的四方体,排锯切后的板材会出现不规则的边,所以第一刀必须将不规则的边修平,这也是为什么天然石的损耗会比人造石要大的原因。
另外还需要注意的是,无论背景墙的顶角线(线条)尺寸有多少或多杂,加工前必须切出长条,如图3所示。
 .
.
(3) Forming, polishing, chamfering:
After the raw materials are cut and the gongs are customized, the machine can be shaped. The processing method of the top corner line is the same as that of ordinary lines. However, after the top corner line is formed, the two sides of the semi-finished product do not need to be polished because they need to be chamfered and cut off. If the semi-finished product is then thrown on the side using the conventional line process, it would be unnecessary.
The next step is to chamfer, and a “U” shaped frame needs to be bonded (using stone waste). The “U” shaped frame must ensure that after the semi-finished product is placed, the vertical distance from the highest point to the lowest point is 100mm (this distance varies depending on the shape of the top corner line). This way, the processed product is very standard, as shown in Figure 4.

(4) Chamfer:
The cutting angle of the top corner line is different from the two-dimensional cutting angle of ordinary lines or plates. It belongs to the three-dimensional cutting angle. In addition to the line forming a 45 ° angle with the machine, the line itself must also be placed vertically. The process flow is as follows:
① Positioning (nail the wooden block on the machine, trim the edge with a saw blade, and ensure that the line is cut at a 90 ° angle) is shown in Figure 5.
② Cutting (segmented according to the required size), as shown in Figure 6.

③ Positioning (cutting the positioning strip to ensure that the cutting edge of the positioning strip is horizontal and needs to be positioned at 45 ° with the support frame), as shown in Figure 7.

④ Check whether the backrest and positioning strip are at a 45 ° angle, and the vertical height of the line is 110mm as shown in Figure 2, as shown in Figure 8.

⑤ Bench trimming (locate the cutting point after trimming and align it with the longest point of the line to prevent the line from becoming shorter due to corner cutting), as shown in Figure 9
⑥ Check and locate (if the vertical height of the top corner line is different, the best method is to calculate so that the reinforced part and the grooved part are not on the same vertical line and are misaligned with each other, so that the risk of grooving and piercing is much lower and it is not easy to break), as shown in Figure 10.
⑦ Cutting
⑧ Cut the other paired piece (after cutting the first piece, cut the second piece in the opposite direction, be sure to cut it in the opposite direction, otherwise the cut will be the same, and it will not be possible to splice it into 90 degrees. In fact, the two paired pieces can be cut simultaneously), as shown in Figure 12.
02 Processing of column neck line
The preliminary processing of the column neck line is the same as the corner line at the top of the column head, and it will not be repeated. However, the method of cutting the corner is not as complex as the top corner line, and belongs to two-dimensional cutting. Simply stand up the line to ensure the height of the column neck line (50mm high here) and 45 °, as shown in Figure 14.

03 Processing of Column Body
The column body is relatively simple. According to the example in Figure 1, it only needs to be grooved on the board surface. It should be noted that the conventional thickness of natural stone generally does not exceed 18mm (of course, there are also 20mm that are unconventional), and the back of each column body board needs to be reinforced to prevent fracture, The depth of the reinforcement groove is generally around 8mm (the size of the reinforcement rib is usually 3X6 flat iron or fiber strip, or carbon fiber rod with a diameter of 6mm), so if it is a 17mm board surface, minus the 8mm deep reinforcement groove on the back, the remaining thickness is only 8mm, so the depth of the Roman groove cannot exceed 8mm, as shown in Figure 15.

Of course, the best way is to calculate that the reinforced part and the grooved part are not on the same vertical line and are misaligned with each other. This way, the risk of grooving and piercing is much smaller, and it is not easy to break, as shown in Figure 16.
In addition, the side panels of the column body also need to be polished because they are misaligned with the French edge of the column body and protrude by 3mm, as shown in Figure 17.

04 Processing of column base
Taking the example in Figure 1, the overall thickness of the column base is 30mm, but generally speaking, natural stone does not adopt this method. Firstly, it wastes materials, and secondly, the 30mm board is all rough, and any areas without a shape need to be polished. The conventional practice in Figure 1 is to combine an 80mm wide shape with a flat plate, which is more economical and reasonable.
(1) Cut the board.
According to the materials in the order, 80mm wide thick plates and 220mm wide flat plates can be cut. When cutting specifications, it is not necessary to cut according to the dimensions in the figure. The total required meters plus some allowance can be calculated, and then the allowance and tool path loss can be added. The reason for the entire processing is that on the one hand, the lines should be aligned with each other, without displacement deformation due to too many segments, and on the other hand, consistency can be achieved when reversing 45 °.
(2) Thick plate shape polished.
On an 80mm wide thick line board, a line machine is used to shape the root paper. The side edge of the line R actually needs to be cast (thin edge), and the other side (thick edge) is bonded to the flat plate, which does not require surface polishing. During processing, attention should be paid to not do useless work.
(3) Bonding.
After the line is formed and polished, it is necessary to bond the line with the side panel, and attention should be paid to the gaps during bonding.
(4) Segmentation.
Divide the 1500mm long column base line into sections according to the diagram, and cut them into 430mm, 430mm, 122mm, 122mm, 122mm, and 122mm.
(5) Reverse 45 degrees.
Unlike a flat plate, the unevenness of the machine surface when backing down requires a method of placing the back on a horizontal surface, such as wooden shavings or 10mm high small pieces of waste stone, as shown in Figure 18.

(Note: The right side of the line does not need to be padded with triangular sawdust or small pieces of waste stone, as the left side has already been padded with a height of 10mm and the center of gravity after horizontal placement is on the board instead of the line, so it can be placed smoothly.) After horizontal placement, use the single cutting machine’s blade tilt function of 45 ° to form together.
Many processing methods are to separate the lines and flat plates. After the lines are formed, the corners are cut in sections according to the column neck line processing method, and the flat plates are also backed up and then bonded separately. This method is also feasible, but the processing process adds an additional “line cutting angle” process, and separate processing may cause inconsistent misalignment between the lines and the flat plates, not all 10mm misalignment, as shown in Figure 19.

For the second type, assembly is convenient and efficient, but for high demand home decoration, it cannot meet the owner’s standards. However, for fast selling products, the second type is definitely the best choice. If you want to make high-quality products, the first type will bring a stronger European feeling and sense of hierarchy.
If the second bonding method is adopted, simply place the line on the bottom plate for trial assembly, then use a pencil to draw the outline of the line along the edge of the trial assembly, and then polish the area where the line needs to touch. Be careful not to polish the bottom plate.
If the first method is used, it is relatively troublesome. First, place the line on the bottom plate for trial assembly, determine the outer contour of the line surface, and then use a cutting machine, water knife, or engraving machine to empty out the central part. Then, paste the line, hole digging board, and remaining materials of the hole digging board, as shown in Figure 7.
After bonding, the center plate sinks, and considering the center of gravity of the force, the outer frame plate is equivalent to being suspended. So, the suspended part must be fixed with artificial stone or hemp stone. One side breaks, especially natural stone, and even breaks into several segments during the hollowing process (when the style of the column body is not a Roman groove but a wire frame accessory, this method can also be used for processing)
After reading the basic production process of the overall marble background wall column, it is only then that I understand that there is a natural reason for being expensive. As a background wall, marble also has functions such as sound absorption, sound insulation, and wave absorption. The key is its versatility, making it easy to hold in any style. Therefore, its position in decoration is becoming increasingly important
Post time: Aug-28-2023